🚛 FREE SHIPPING | LIFETIME REPAIR WARRANTY | 20% Sale: “FASHION20”
Do you own an old leather bag that has seen better days? Maybe it’s a cherished family heirloom, a vintage find, or a reliable companion that has traveled with you for years. Over time, leather can lose its lustre. It can become dry, cracked, and faded. But don’t worry! With a little care and effort, you can revive your beloved bag. You can bring back its beauty and extend its life significantly.
Restoring a leather bag is not just about making it look new again. It’s also about preserving its unique character. It’s a sustainable choice that saves money and reduces waste. This comprehensive guide will help you understand the process. We will cover everything from assessing the damage to providing specific tips for different bag types. These include your favourite vintage leather messenger, a robust duffle bag, or a practical backpack.
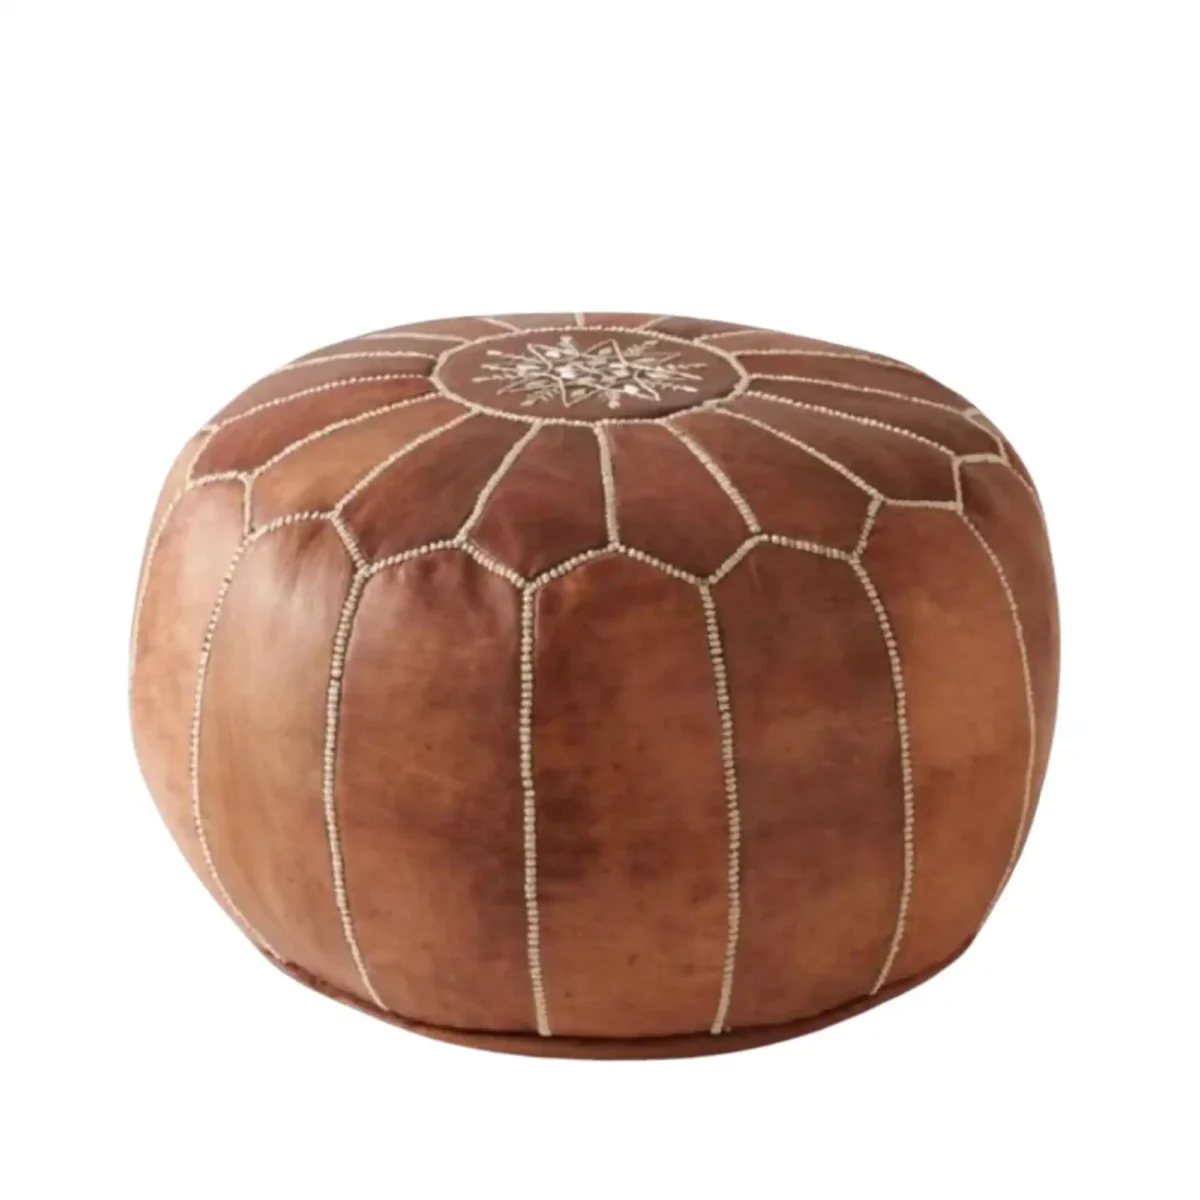
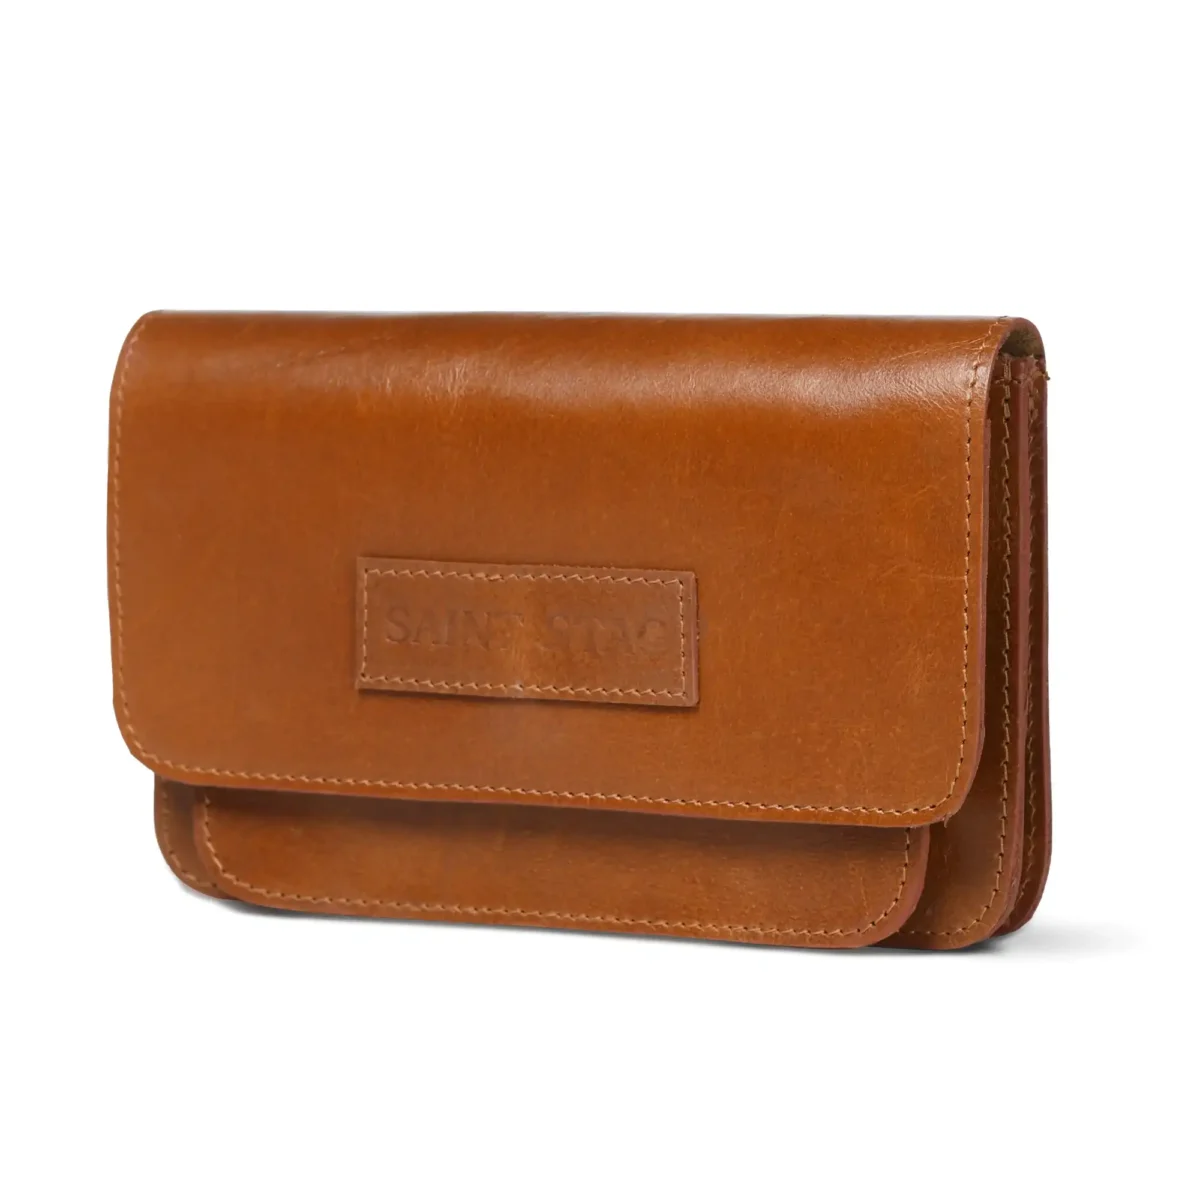
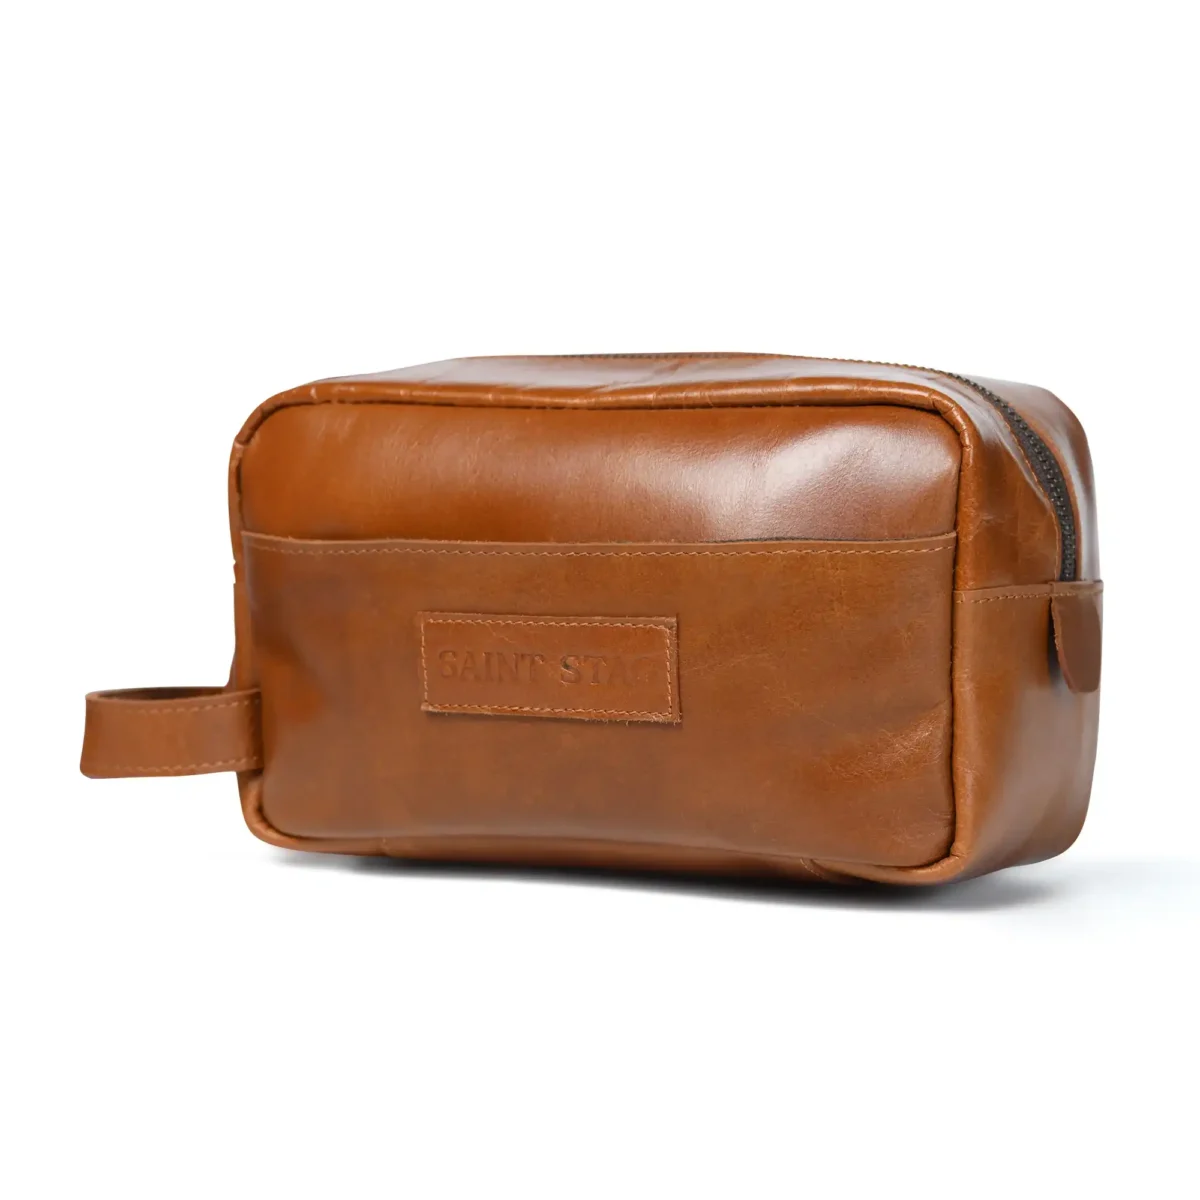
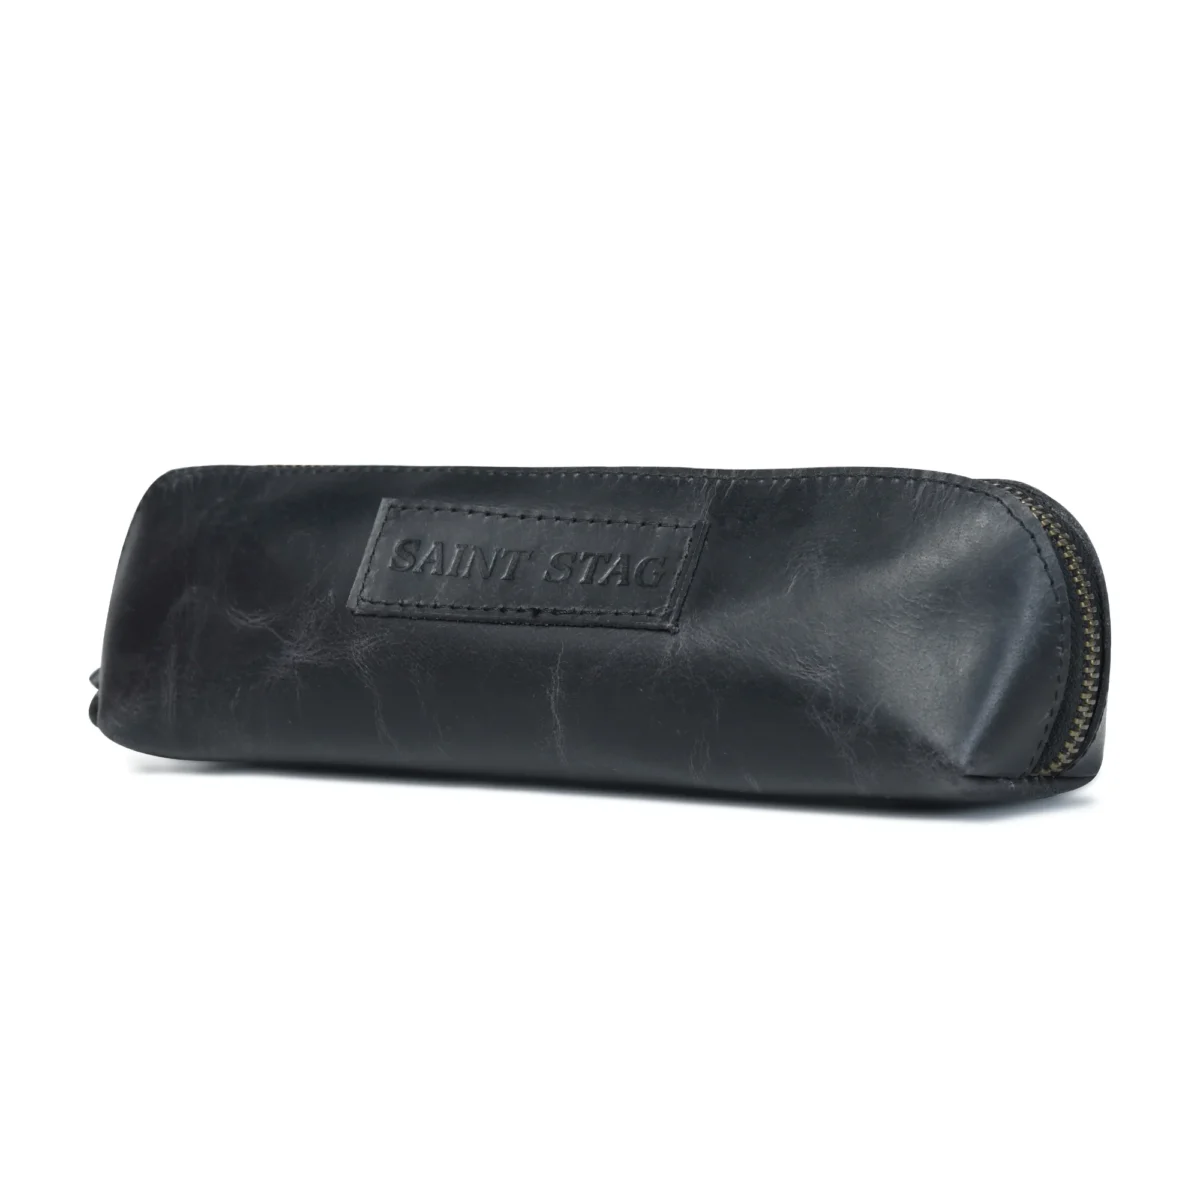
Before you begin any restoration work, it’s vital to understand the type of leather your bag is made from. Different leathers require different care. For instance, many high-quality bags, like those from Saint Stag, use full-grain leather. This type of leather ages beautifully, developing a unique “patina” over time.
Full-grain leather is the most durable and highest quality. It shows all the natural marks of the hide. It develops a rich sheen with age. Top-grain leather is slightly sanded to remove imperfections. Aniline leather is dyed but not coated, keeping its natural look and feel. Pigmented leather has a surface coating, making it very durable but less natural-looking.
Each type ages differently. Full-grain leather often just needs hydration and cleaning to enhance its existing character. A messenger bag might show wear on its flap, while a duffle bag could have scuffs on its base. A backpack might have worn shoulder straps. Knowing your leather helps you choose the right approach.
Think of this as a doctor examining a patient. You need to carefully check your bag before you start treatment.
Once you’ve assessed your bag and gathered your supplies, it’s time to get to work. Follow these phases carefully.
This is where you remove years of accumulated dirt and grime. Never skip this step!
Cleaning removes dirt, but it can also strip natural oils. Conditioning puts moisture back into the leather, making it soft and supple again.
Sometimes, restoration goes beyond just the surface. Loose stitching, worn straps, or broken hardware can make a bag unusable.
This step addresses visible flaws like scratches, scuffs, and fading.
While the general steps apply, each bag type has its unique wear points and restoration needs.
These bags are often used daily, leading to specific wear. Check the flap for cracks from opening and closing. The shoulder strap often gets the most abuse; ensure its attachments are strong. Buckles and clasps on vintage leather messenger bags are key. Clean them well and ensure they function smoothly.
Duffle bag corners and bases are prone to scuffs from being set down. Reinforce these areas if needed. Zippers on duffle bags can be long and might snag. Keep them clean and lubricated. Handles often carry heavy loads, so check their stitching and integrity carefully. Consider adding a waterproofing spray for travel bags.
Backpack straps and back panels experience constant friction and sweat. Clean these areas thoroughly and condition them to prevent cracking. The bottom of backpacks also gets a lot of wear. Check compartment dividers for tears and repair them to maintain organization.
You’re almost done! The final steps ensure your hard work lasts.
Even with the best intentions, things can go wrong. Here are some common pitfalls:
Restoration is a one-time event, but maintenance is ongoing. This ensures your revitalised bag stays beautiful.
At Saint Stag, we believe in the enduring quality of full-grain leather. Our products, from vintage leather messenger bags to elegant duffles and sturdy backpacks, are designed to last a lifetime. We embrace the natural aging process, known as patina. This unique character tells the story of your journeys.
Our philosophy aligns with sustainable practices. We encourage repairing and maintaining your leather goods rather than replacing them. Restoration, when done thoughtfully, enhances the bag’s authenticity. It keeps its unique story intact while ensuring its functionality and beauty for years to come.
Restoring an old leather bag is a rewarding process. It takes patience and a little effort, but the results are truly satisfying. You not only save money but also contribute to a more sustainable lifestyle. By following these steps, you can transform a neglected item into a cherished accessory once again.
So, gather your tools, roll up your sleeves, and begin your restoration journey. Give that vintage leather messenger, duffle bag, or backpack a new lease on life. Enjoy the renewed beauty and the unique story it continues to tell.
For regularly used bags, conditioning every 3-6 months is a good practice. If your bag is exposed to harsh conditions (extreme heat, dryness, or humidity), you might need to condition it more frequently. Always check the leather; if it feels dry or stiff, it’s time for conditioning.
It’s generally not recommended to use household oils like olive oil or coconut oil. While they might temporarily make leather look good, they can go rancid over time, leading to unpleasant smells and potential damage to the leather. Always use a dedicated, high-quality leather conditioner specifically formulated for bags.
If your leather bag gets wet, immediately blot off excess water with a clean, dry cloth. Do not rub. Stuff the bag with newspaper or acid-free paper to help it maintain its shape and absorb moisture from the inside. Let it air dry naturally at room temperature, away from direct heat or sunlight, which can cause cracking and shrinking. Once dry, condition the leather.
Pen marks and ink stains are notoriously difficult to remove from leather. For fresh marks, you might try a specialized leather ink remover, but test it on a hidden area first. For older or stubborn stains, it’s often best to consult a professional leather cleaner or restorer to avoid damaging the leather further.
The decision depends on the bag’s sentimental value, monetary worth, and the extent of the damage. For highly valuable or deeply cherished bags, professional restoration is often worth the investment. For less valuable items with extensive damage, the cost of professional repair might exceed the bag’s worth. Minor damage is often suitable for DIY restoration.
6 in stock
$138.00 Original price was: $138.00.$69.00Current price is: $69.00.
8 in stock
$84.00 Original price was: $84.00.$42.00Current price is: $42.00.
8 in stock
$90.00 Original price was: $90.00.$45.00Current price is: $45.00.
8 in stock
$70.00 Original price was: $70.00.$35.00Current price is: $35.00.
10 in stock
$130.00 Original price was: $130.00.$65.00Current price is: $65.00.
1 in stock
$98.00 Original price was: $98.00.$49.00Current price is: $49.00.